| before | after |
 |
 |
| before | after |
 |
 |
| before | after |
|
|
| before | after |
|
|
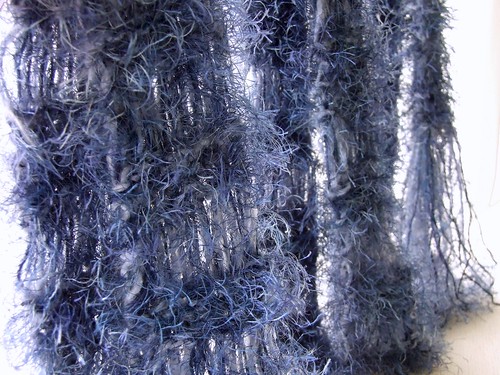
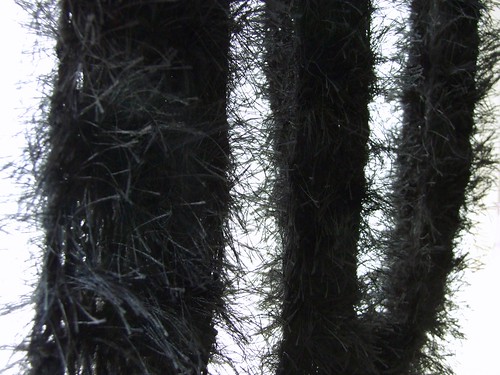 both scarves were knitted using a combination of lion brand fun fur and moda dea dream (both are available at michael's). they were knitted in garter stitch and every 3-4 rows, i wrapped one to so that some rows are longer/have more space.
| before | after |
 |
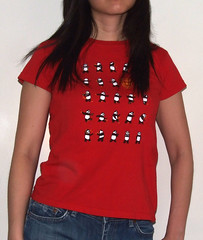 |
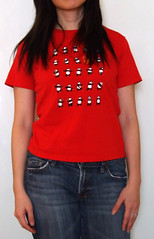
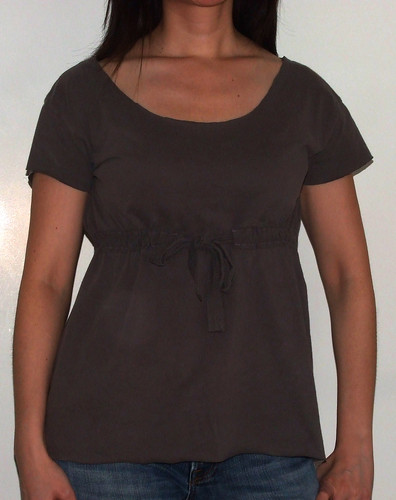 i got the idea from 99 ways to cut, sew, trim, and tie your t-shirt into something special (#15, mimi) but had to modify the sleeves to make them fit better and also made the belt significantly shorter.
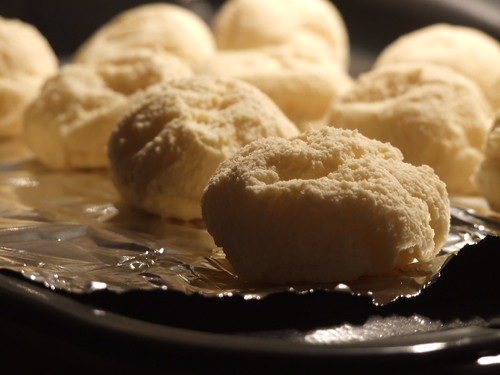 i used a yoki mix but you can also find recipes online to make them from scratch. here are the directions (the instructions are in portuguese): add 1/2 cup water, 2 eggs to the mix; bake for 40 min at 350 degrees. i normally add an additional 1/4 cup of shredded cheese mix (mozzarella, romano, asiago, parmesan work well) but didn 't have any tonight---i have to say, they taste much better with the extra cheese... also, i usually bake for less time---somewhere between 20-30 min so they are chewier and less dry.
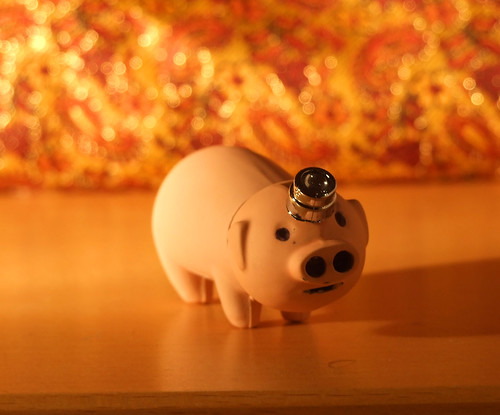 and also made a mii of george washington for this week's nintendo mii contest:
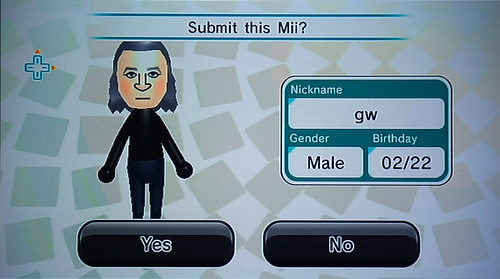
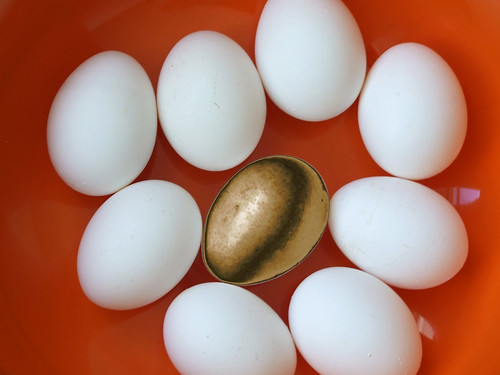 there are some issues---like the fact that the border is jagged and there is a hard black edge. i would've worked on it more, but it's late, and i need to get some sleep. i might try to tweak it some more later though... i learned some p-shop tricks that i didn't know either, so that was cool... thanks for the tutorial, annie_22!
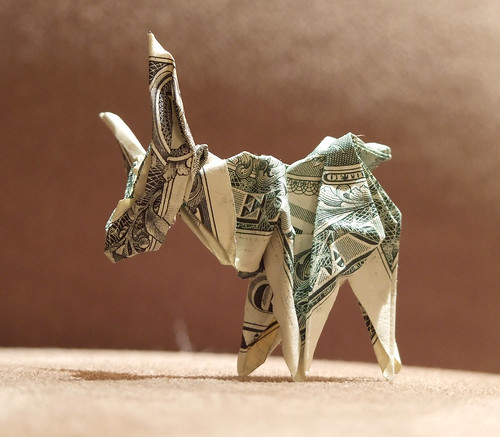 it's kind of a sad stag, i know... i got further this time, but there are still some very wrong portions, and by the end, i was just mushing things all together which you can see if you look closely... i'm pretty sure it is all wrong. but it's late, so i decided that's going to have to be my attempted thing for today. maybe i'll try to see if i can get an origami expert to help me correct my mistakes later...
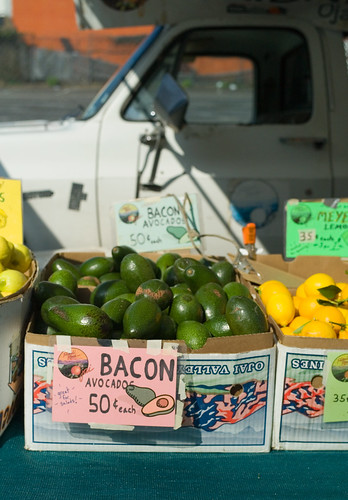
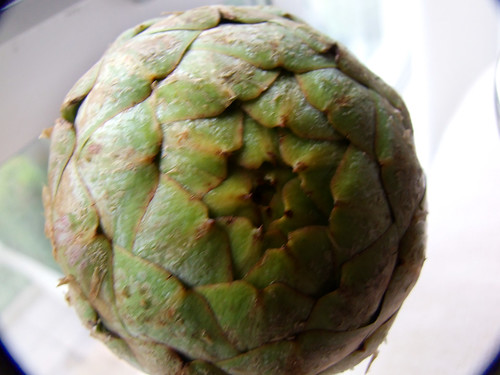 i got it from the farmer's market the other day. i know it doesn't sound that significant, but i'm not much of a cook, so it was a big deal for me...
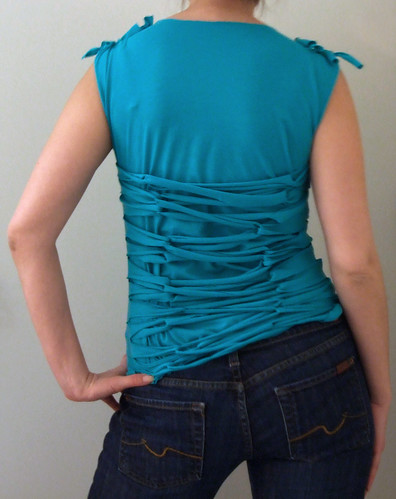 i got the idea from save this shirt (fit to be thai'd) but didn't realize until afterwards that the part that is woven through the back is supposed to remain connected to the rest of the shirt. i don't think it matters all that much though. if i were doing it over again, i would have made the length a little bit longer, but otherwise, i'm happy with it.
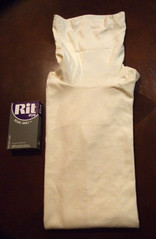
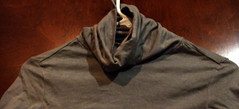 why not just buy a gray turtleneck, you ask? that's a good question! i did look for one, but i couldn't find one that i liked and that didn't tickle my neck... you see, i have this thing about turtlenecks and can't usually wear them---in fact, i haven't worn them since high school until this year... because they tickle my neck, and i used end up having to pull them down off my neck all day whenever i would wear them... but i found a kind that i like... it's thin and good for layering and the neck is loose enough (but not too loose!) so it doesn't tickle my neck. i bought a bunch of them in multiple colors, but they were out of gray. so i bought a creme-colored one thinking that i could dye it if i needed to... and i even continued to look for another gray turtleneck, but couldn't find one... this was like 3 months ago.... and i tend to procrastinate about stuff like this... so it didn't look like i would actually get a gray turtleneck anytime soon, but today, because i hadn't made a thing yet, i decided that would be my thing today, and i actually dragged myself to the store after work, bought some dye, and dyed/dried the whole thing when i got home. thank you, thing.a.day! my other clothes thank you too, for now they will have a gray turtleneck companion to keep them company!
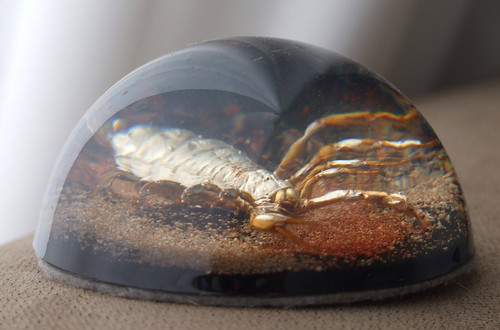
also, here is a picture of a scorpion that i took the other day but forgot to upload:
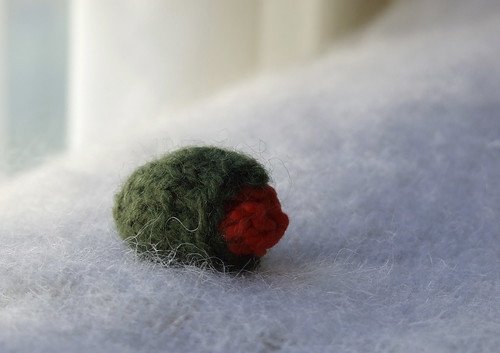
 and i finally finished my jarful of olives!
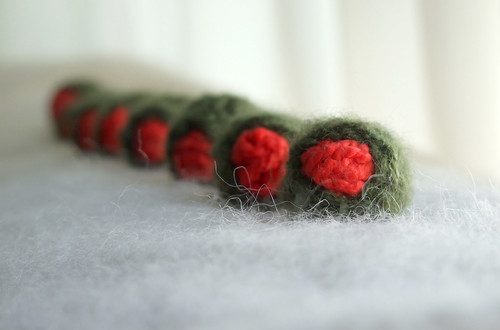 for more pictures of hearts and olives (including one of the olives actually in a jar) please see my flickr page.
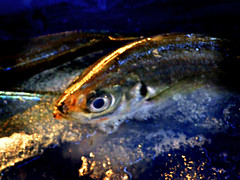
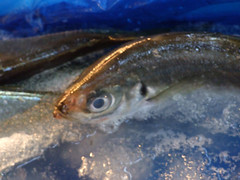
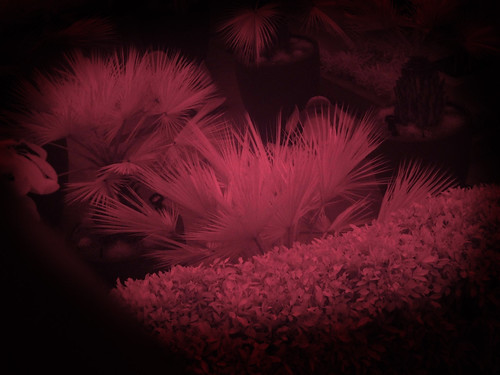 i don't think i entirely know what i'm doing, so i'll probably read up on ir filters a little more, ask around, and practice some more. but i thought it was kind of cool/funky-looking... the photo came out too dark, so i adjusted it a little and added a little bit of a vignette that i thought helped with the overall composition of the image.
 i have made these before and find them to be fascinating to look at, as well as fun to make. the idea is to take a portrait, preferably one that is shot from the front and evenly lit---you might have to rotate the picture a little if the head is tilted. then split the photo in half and flip each side horizontally and match to the corresponding side---so 2 right halves to form one face and 2 left halves to form another. most people will have a dominant side that has stronger, bigger features, and a less dominant side that will look more sensitive. here are some more clones that i have made of myself in the past.
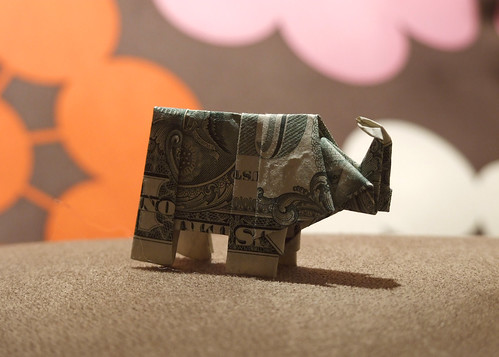 i got the instructions from here. you're supposed to use a new dollar bill, but i didn't have one, so mine is a little bit wrinkled. i made it in the waiting room of a doctor's office because, sadly, i'm still sick today.
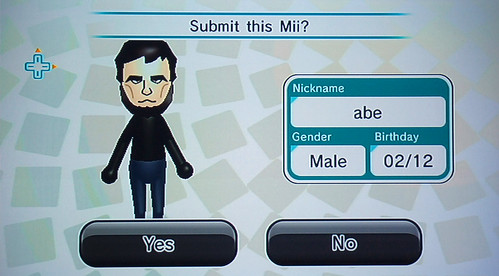 i was trying to capture his strong eyes, high forehead, stern expression, and narrow, long, and chiseled face.
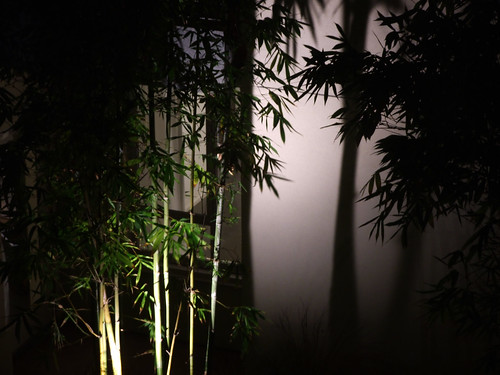
finally, i took a picture of some bamboo outside my window:
i was trying to capture his strong eyes, high forehead, stern expression, and narrow, long, and chiseled face.
finally, i took a picture of some bamboo outside my window:
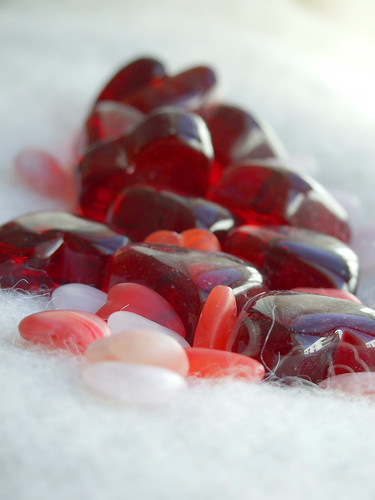
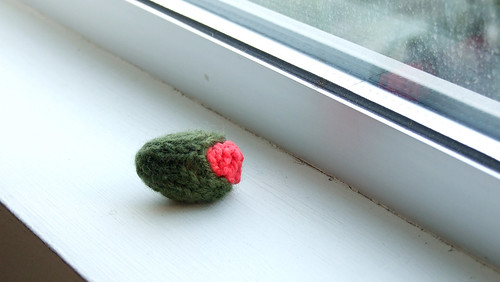 i have 4 right now, so i'm well on my way to making a jarful...
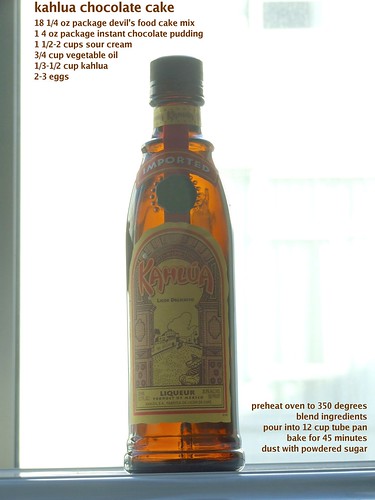 it's my mother's recipe---it's super easy to make, but tastes great---everytime i bake it, people ask for the recipe. unfortunately, i ran out of kahlua so i had to improvise a little---added some espresso powder and bailey's. we'll see how it turned out (i haven't tried it yet...)
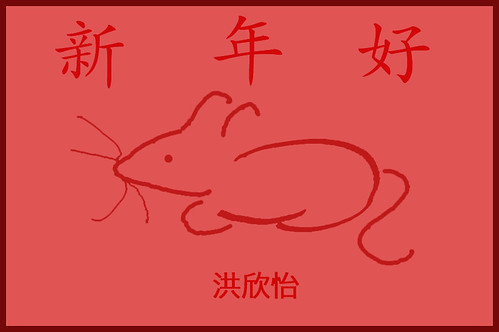 the rat is somewhat similar to a bunny that i designed awhile ago... i'm hoping to be able to learn illustrator this month so that i can reproduce both of these and other designs...
i'd hoped to be able to email my family and friends with my message, and although it is technically still chinese new year right now, most of them won't see it till tomorrow...
the rat is somewhat similar to a bunny that i designed awhile ago... i'm hoping to be able to learn illustrator this month so that i can reproduce both of these and other designs...
i'd hoped to be able to email my family and friends with my message, and although it is technically still chinese new year right now, most of them won't see it till tomorrow...
| processed | original |
 |
 |
 |
 |
 |
 |
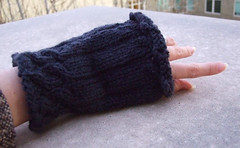 today i made a fingerless glove... i don't like it all that much and hope to improve on it the next time i make one and/or make its partner...
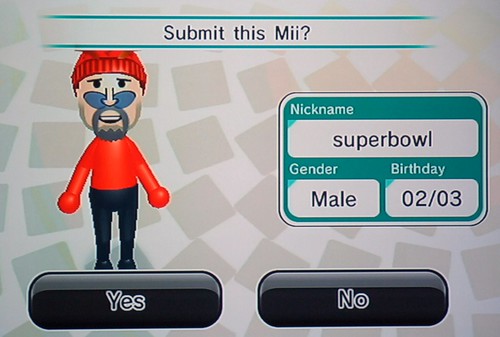 here are some other mii's that i've made... (including myself, past contests, and pippo, my favorite sanrio character)...
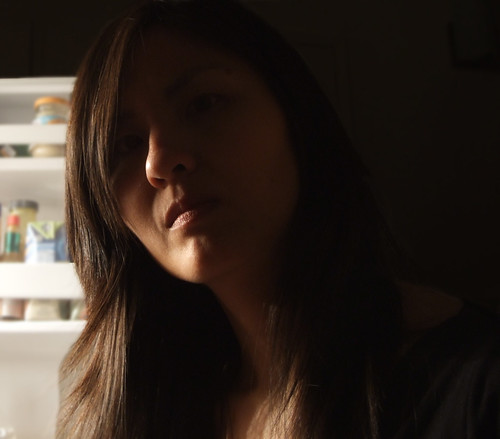

if you click on the photos, they will take you to my flickr page, and you can click to see more detail. the first photo was taken by placing the camera on a step ladder next to the fridge so that i was lit from the side. i touched it up because i couldn't get the depth of field that i wanted from my camera---i blurred the background more and also made the fridge brighter and wall darker. there are some matte line issues that i may try to fix at some point (see lower left part of the image where the hair is layered over the fridge; also, along the right edge, there is kind of a halo between my hair and the wall behind me...)
the second photo has some subtle color and level adjustments and was also cropped, but is otherwise untouched. the camera was placed inside the fridge on the top shelf.
i haven't updated my blog in over a year now, so i thought thing-a-day would be a good way for me to get back into it.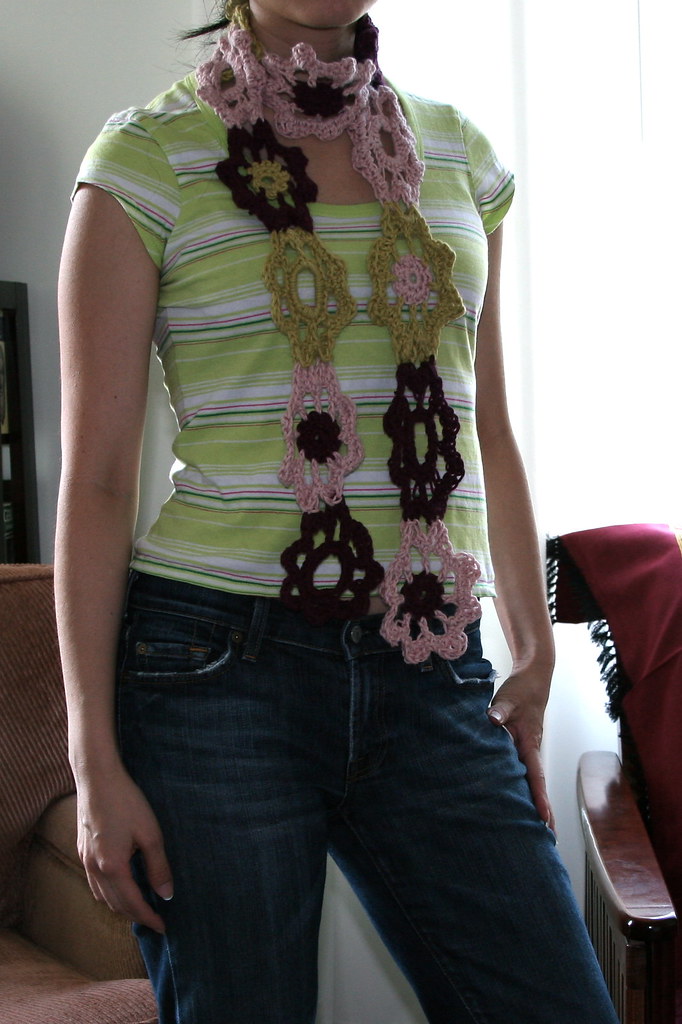
it's the garden scarf pattern, and i used a debbie bliss cotton angora that i used for this sweater. the yarn seemed nice when i bought it but was a little disappointing because it sheds like crazy! everywhere i wore the sweater, i'd leave behind little balls of fuzzy angora. but i figured this would a good way to use up the yarn and am hoping the scarf won't shed as much as the hoodie (but maybe i'm wrong about this). because it's way too hot right now, i won't be able to wear it to see. so far, crochet seems to be a good way for me to use up my knitting stash though...
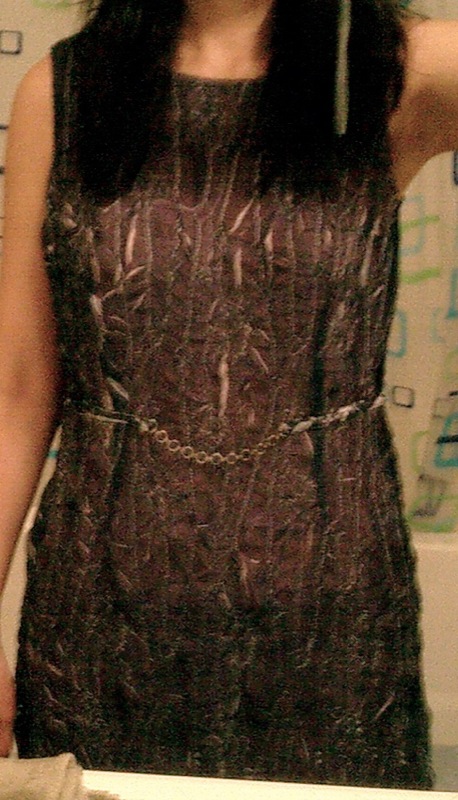
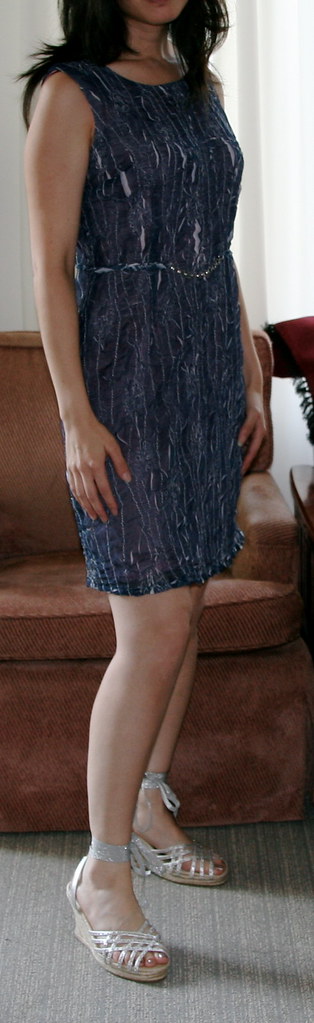
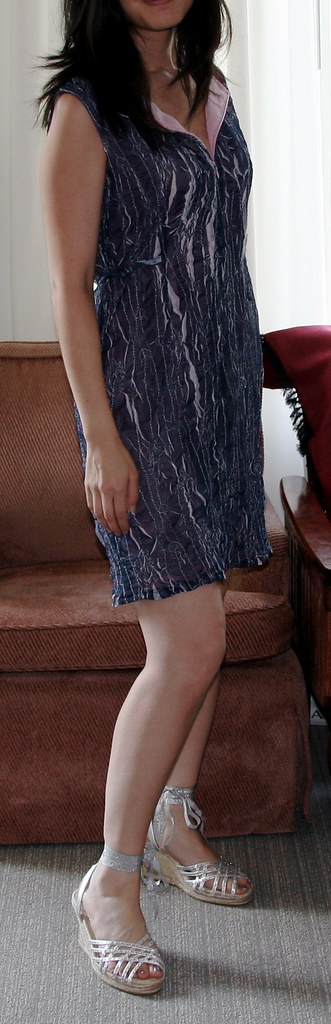
i also have a dress that is a work in progress:
| before | after: zipper back | after: zipper front |
 |
 |
 |
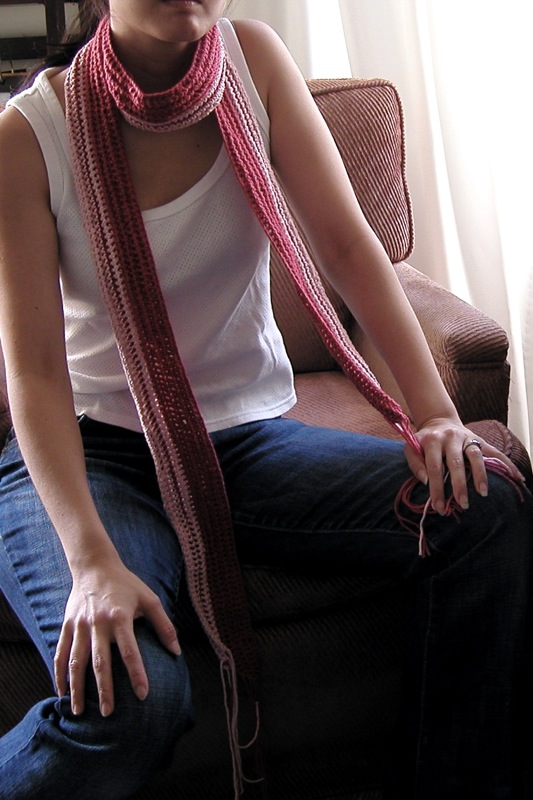
i used rowan calmer (a gorgeous cotton blend yarn that's soooo soft) in blush and powder puff. i like the book---it has some great patterns and the instructions and illustrations are very clear for a beginner like me.
i also took some men's jeans and converted them into a skirt:
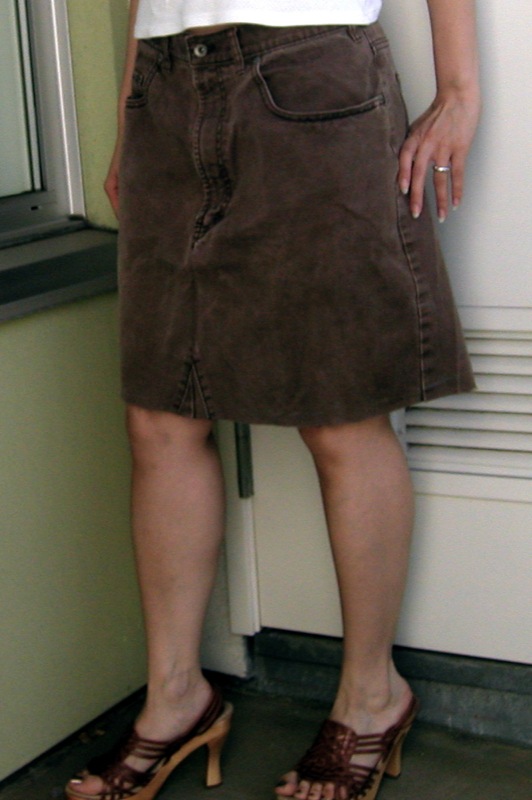
the waist was way too big (even for a low waisted skirt) so i sewed a couple of darts in the back to take it in a little.