here is a a summary of all my tads this month:
tad has been great! looking forward to seeing everyone next year!

here is a a summary of all my tads this month:
tad has been great! looking forward to seeing everyone next year!
i might add a kangaroo pocket and a skirt and maybe shape it a little more, but i think it will work for what i need... i used a piece of scrap fabric that i've had lying around that is a little scratchy and not that cozy, so it's more of a prototype for possible future clothing that i might make...
the lines are sewn concentrically 1/4" apart. i think of it like the equivalent of doing scales on the piano, but for sewing. i have used an industrial machine before and have done the same exercises before, but still found the circle to be very challenging. it starts out ok, but when you get to the inside, any flaws in your sewing become much more apparent.
i'm excited about the class. throughout the semester, we will learn a variety of sewing techniques including seams and finishes, curves, bias, hems, hand finishing, plackets, pockets, buttonholes, collars and necklines, and zippers and assemble a notebook with examples of everything we have sewn.
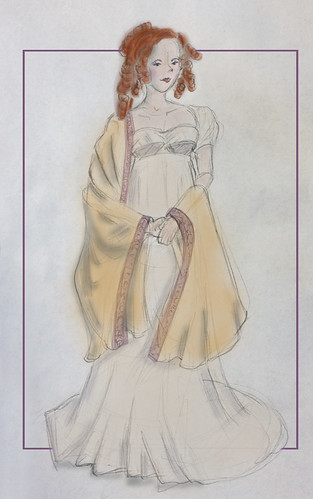
i traced over the photograph and made adjustments where i thought it made sense to.
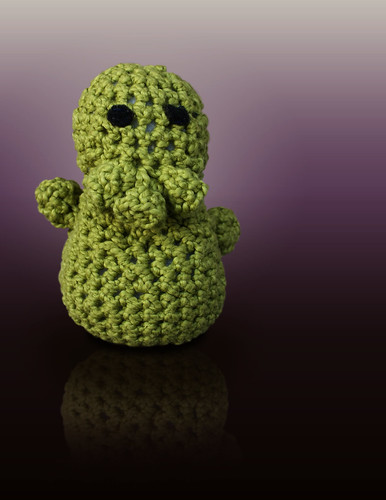
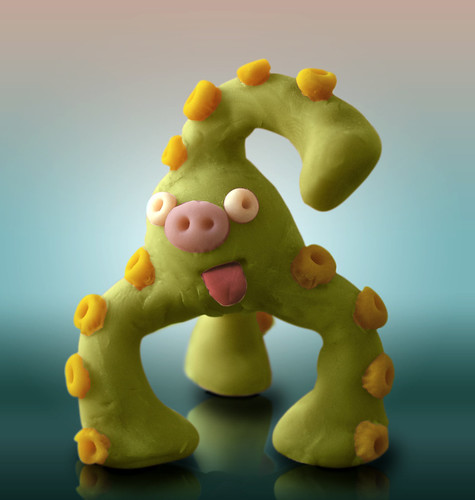
we are just learning elementary techniques right now, as well as different, more efficient ways of working. we will take the same dress and apply different variations (sleeveless, longer, etc.) and then create a linesheet on thursday.
the light is from http://www.iqlight.com/ and is composed from 30 plastic pieces. i had made different versions of the lamp before and displayed them, but this is the first time i attached it to a lamp base. it's been on my todo list for a long time...
i based it on a basic tee that i have and like. it turned out a little more fitted than i planned because my material was less stretchy than the original. i did try to account for it by making it a little bigger, but not enough, i guess. i need to smooth out the neckline, cut down the loose threads, and patch a few spots where the serger didn't sew all the way through, but i'll do that some other time...
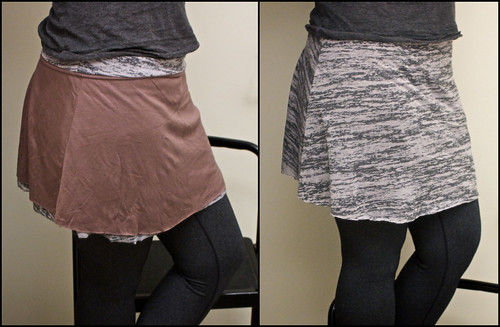
it's similar to the one i made the other day but with some changes (based on my experience wearing the other one). this one isn't reversible and has a longer second layer. i also used a serger this time instead of a sewing machine. it has exposed side seams and a fold over belt that is more narrow than the other one i made (it was a bit too loose last time). i usually wear the skirts over tights and under hoodies/tunics, so the waist doesn't really matter that much anyway.
tomorrow, i don't have any classes, so i'll actually try to make something on my own, and not just take the lazy way out and post my class assignments...
we learned various techniques to work efficiently and precisely and traced a basic tee shirt design that was provided.
as the tutorial recommends, you can cut off the excess fabric, but i usually leave it on with the idea that i can change the hem if i need to. i do this because it takes me a while to figure out what kind of shoes i'm usually going to wear with the jeans, and sometimes, i change my mind. normally, the excess fabric isn't a problem. however, these particular jeans are slim/skinny throughout the leg but flared at the ankle, so whenever i walked, the excess fabric would flip out---not ideal---so i hand-sewed the fabric to the body of the jeans. i think they should work much better now.
actually, the ankle doesn't look that flared in the photo, but when worn, it is much more so.
also, here is the class exercise that we worked on today:
our intructor hand drew it and gave it to us to practice with. i traced and colored it in illustrator. the colors i chose were a little different than what was exported. i'll look into fixing that later...
i wanted it to have a marbled surface, which it sort of has, but i didn't work at it or try to control it that much. there is a piece of aluminum foil inside to help fill it out, and i tried to make the details neater than my football sculpey. i haven't baked it yet but will. i will probably glaze it after baking to give it a shinier, marble-like quality.
i am always wanting to learn new photoshop tricks and techniques. i decided to redo my avatar from day 01 by taking it into pshop and redoing proportions and other stuff. the result is a combination of resizing, scaling, and distorting the original avatar, as well as hand painting and cloning on top of it to smooth things out. i also copied my eyelids and a snippet of my hair from my original photo and comped those on top too. i know it still doesn't really look like me, but i think it's an improvement from before. i'm planning to use it as an avatar for some profiles.
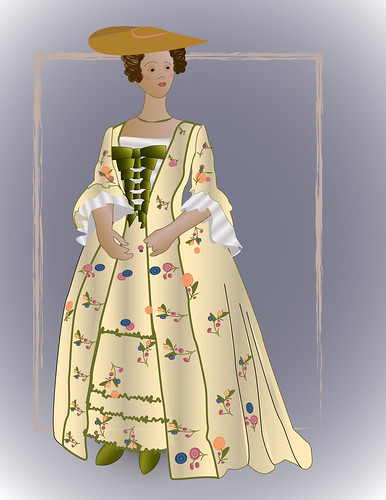
i thought it was really cool and thought i'd try to illustrate a dress i saw at a museum exhibition of costume history:
my inspiration here.
cross-posted here
to complete the project, i sewed the pinned darts into the skirt portion and also adjusted the torso darts to account for the narrower waist. i didn't have the right thread color, and my sewing machine tension seemed like it was a little off (i guess i'll have to deal with that at some point) so the new threads were too visible---i colored them with a sharpie to minimize them. here is the result with before and after pictures:
i need to iron it better before wearing but am overall happy with the adjustments. i have a closetful of clothing that needs similar alterations, so i might be posting more of these this month...
cross-posted here
i wasn't feeling so inspired today and decided to start out lazily. i have an obsession with making avatars. i like to try to make them look as much like me as possible, although they don't usually end up looking anything like me. the result today was no different, but it was still fun to try. meet ciggy shepard:
* my friend pointed out (and he is totally right) that i should include a comparison image, so here it is: 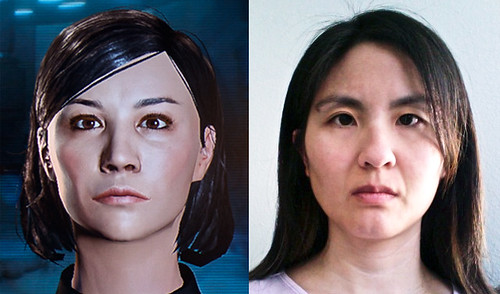
other views: front, left, right, up, down
other avatars i've made before: fallout3 (from tad2009), mii, wow chars: minimi (gnome) and nikita (blood elf)i promise to try harder tomorrow...
original post here.